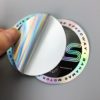
Waterproof Vinyl Stickers Die Cut Stickers Adhesive PVC Label Sticker
- Product Origin: China
- Item NO.: ST20200623
- Shipping Port: Shenzhen
- MOQ: 1000
- Material: Adhesive PVC, vinyl, paper, transparent vinyl, PET, art paper
- Application: Perfume/Lotion Bottle/Cosmetic Package
- Certification: ISO9001/SGS
Description
Product descriptions:
Item Name: Custom soft tube package paper box with insert
The structure, size and design can be customized for your brand
| Product type | Waterproof Vinyl Stickers Die Cut Stickers Adhesive PVC Label Sticker |
| Material | Adhesive PVC, vinyl, paper, transparent vinyl, PET |
| Color | CMYK or PMS color |
| Surface finish | Glossy or matte |
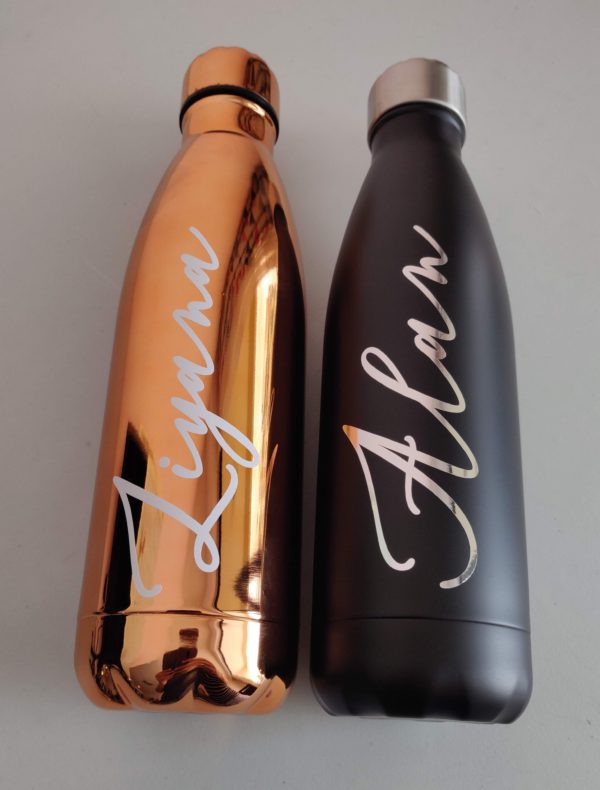
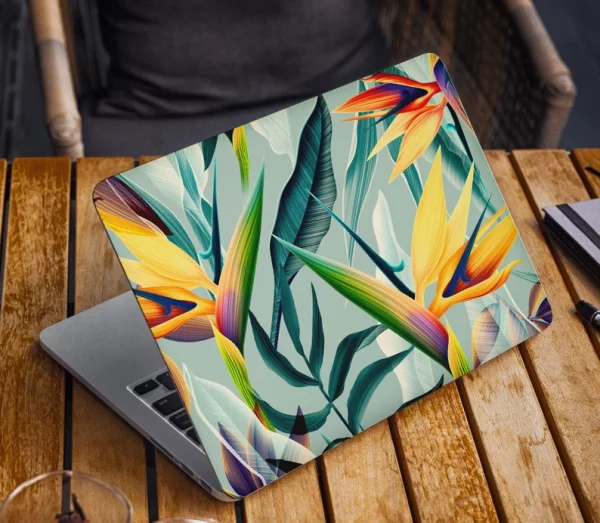
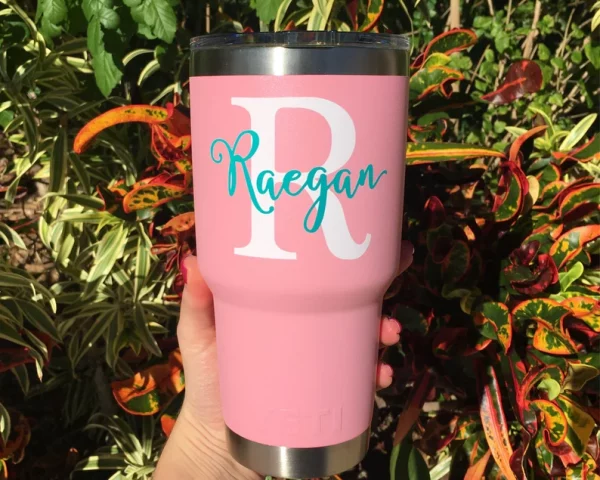
| Feature | Can be applied on metal and different surface |
| Payment term | 30% production deposit and 70% balance before shipment |
| Sample lead time | 7 days after artwork confirmation |
| Production lead time | 20 days after deposit and artwork are received |
| Packing method | Stiff and durable shipping carton with sufficient production during shipping |
| Shipping method | By sea or air |
How to apply vinyl die cut stickers ( decals)
Step 1 – Prepare your surface.
This is very important – so important that we have a whole blog post about it which you can check out here. In short, give the surface a good and clean, removing any dirt, dust, hair and any sticky bits that might be left over from a previous sticker.
Step 2 – Place your sticker.
Pick a location for your sticker. Measure it and double check! You don’t want to go to the effort of applying a sticker only to find that it is off center or not quite where you wanted it. If you are really keen you can tape it in a place, so it doesn’t move, with a line of tape over the center of the sticker, like a hinge. This is particularly helpful for large or long stickers like the one below.
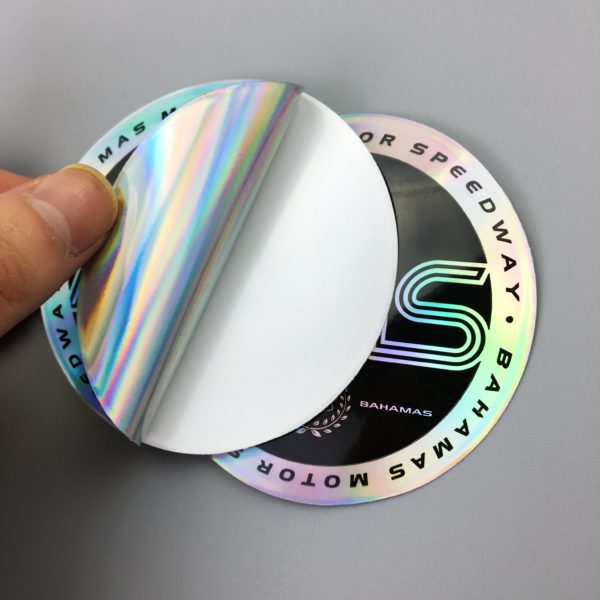
Step 3 – Peel the sticker from the backing paper. Stop 1/3 to 1/2 way.
Peel the backing paper off the sticker carefully. Fold it over, and watch for parts that may stick. If they do, just push the app tape back down and retry. Stop one third to halfway.
Step 4 – Cut away the backing paper.
Cut away the part of the backing paper that you have just exposed.
Step 5 – Apply the first half of your sticker.
Working from the center out, using a credit card or a hard rub with your hands, push the sticker into position and rub it hard!
Step 6 – Remove the other half of your backing tape.
Remove the other half of the backing paper by folding the unattached part and peeling it off carefully, exposing the sticker surface. As with step 3, fold it over itself, and watch for parts that may stick. If they do, just push the app tape back down and retry.
Step 7 – Apply the second half.
Using the same method as before, work the second half of the sticker down and into position. Hold the sticker tightish and work from the center to the end. If you don’t have a squeegee like we’re using in this pic, you can use a credit card or the side edge of a ruler – that will usually do the trick.
Step 8 – Rub your sticker like you love it!
Rub it hard to make sure it will stick properly! This also helps remove any bubbles that might be lurking below.
Step 9 – Remove the application paper.
Starting at the top corner of your sticker, carefully peel back the application tape. Fold it over on itself, and slowly pull on a 45 degree angle to the sticker.
Step 10 – Keep pulling!
Slowly keep pulling back the app tape until it is all removed. Watch for parts of your sticker lifting – if it does then re-rub that part of the sticker with the app tape over it and try again slowly. If it isn’t working, try different angles. DO IT SLOWLY!
Step 11 – Bask in your glory!
You have done it! You Vinyl Die Cut Sticker is now on and hopefully looking mint




Reviews
There are no reviews yet.